Updating the Kodi Aeon Mq9 Multi-Mod skin is a pretty straightforward process, but it can have some really messy effects if not done correctly. This guide will walk you through the steps on updating the skin and ensure operations continue to run smoothly. This guide assumes you already have the skin installed and are doing an existing upgrade this guide is for windows machines but may also be applicable to Linux machines. I will cover a fresh install guide in a later post.
Downloading the zip
First, if kodi is currently running, shut it down. Then head over to the Kodi forum on Latts9923 page, Latts does an excellent job of continuously making improvements and updating this skin. He also is extremely good about implementing requests or outside of the box solutions. The main thread for this skin can be found on the Kodi forum at https://forum.kodi.tv/showthread.php?tid=373436
Select Aeon Mq 9 Multi-Mod, This link will download the latest version of the skin, save it in a place you’ll remember for later.

Copying the files
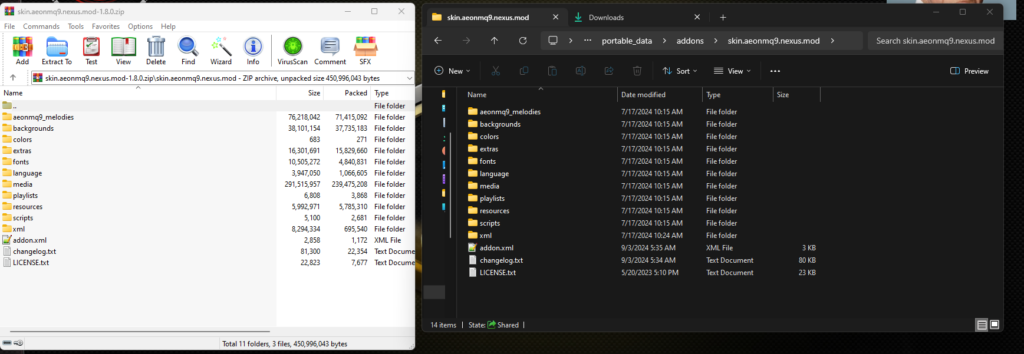
Open the zip file, then in windows explorer, navigate to your kodi install location. My installation is portable so that way i am able to sync out to other machines after updating my main Kodi instance; your mileage may vary.
Navigate to .\addons\skin.aeonmq9.nexus.mod in windows explorer and also drill down 1 layer in the zip folder so the file listings match.

Select all the files on the left and pull them to the right, accept any changes that windows prompts for overwriting existing files.
Backing up the Settings
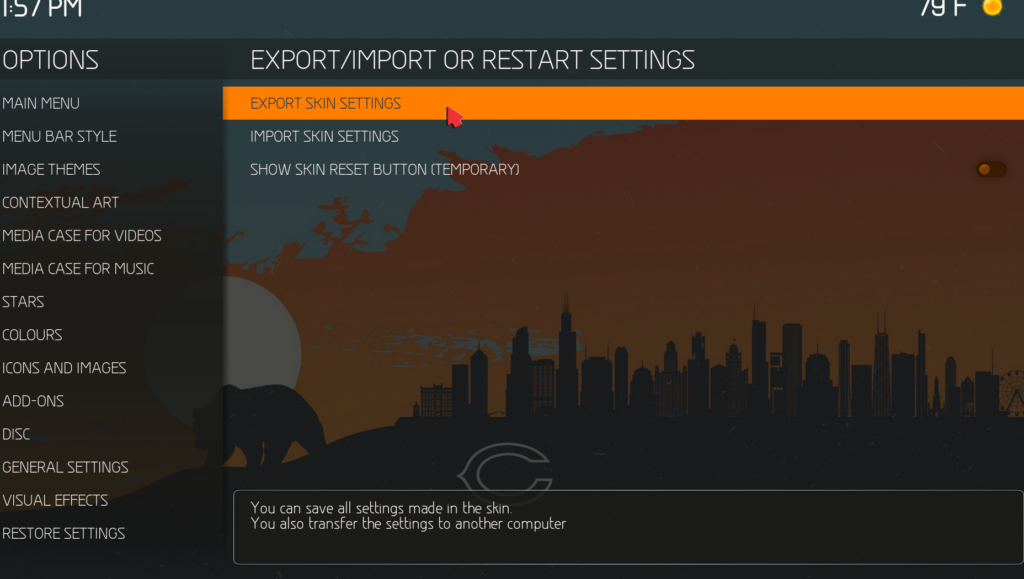
In Kodi, Navigate to Settings>Skin Settings>Restore Settings


Select “Export Skin Settings”, This will take a backup copy of your current skin setting configurations, If the backup has completed successfully you will see a banner at the top.

Enable the “Show Skin Reset” toggle button and select “Reset skin- Careful: This process is irreversible”, We’ve taken a backup of the existing skin settings so no worries about selecting this option.

Your skin will revert to the default settings as pictured above. DO NOT PANIC, If you have taken a backup from the previous steps, your settings are fine.
Restoring the backup
Navigate back to Settings>Skin Settings> Restore Settings and this time select “Import Skin Settings”.

Select the most recent backup taken and wait a few minutes for the skin configuration to restore. You will see a progress bar menu at the top of the screen and have visibility to files being restored. Once finished, your existing configurations will be back in place.


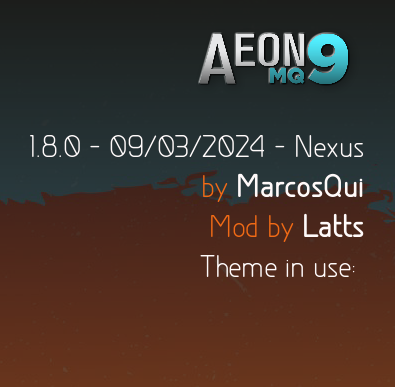
While kodi is running you will still be on the old version of the skin. At this point you need to restart kodi. Once kodi comes back up, go to the Main menu settings and you will see that Kodi is running the latest version of the skin. At the time of writing this article the latest version is 1.8.0 – 09-03-2024
Finished!


