Adding a Steam game to your Hyperspin setup allows you to integrate and launch your favorite Steam titles directly from the Hyperspin interface, streamlining your gaming experience. To achieve this, you’ll need to follow a few simple steps. First, ensure you have Hyperspin, Hypertools, Rlauncher and Steam installed on your system. Every game will have its nuances, but with the steps below this could be used as a general guide to be successful in getting a steam game added to your hyperspin library.
In this example, I’ll be adding Dead by Daylight. First, install the steam game on your system.
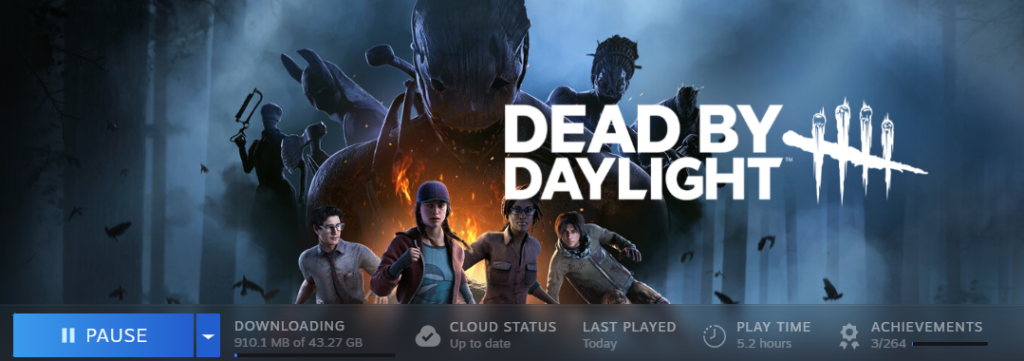
While it is not a requirement to install the game on the same drive as your hyperspin drive, it is certainly easier to compartmentalize your steam games in that way. I prefer to use the D: as my steam game/hyperspin drive.
Hyperspin Database Entry
While the game is installing, Open Hypertools and navigate to “PC Games” on the left, then select the “Roms XML” tab, from here, select “Load XML”. You should screen similar to below for existing PC games.
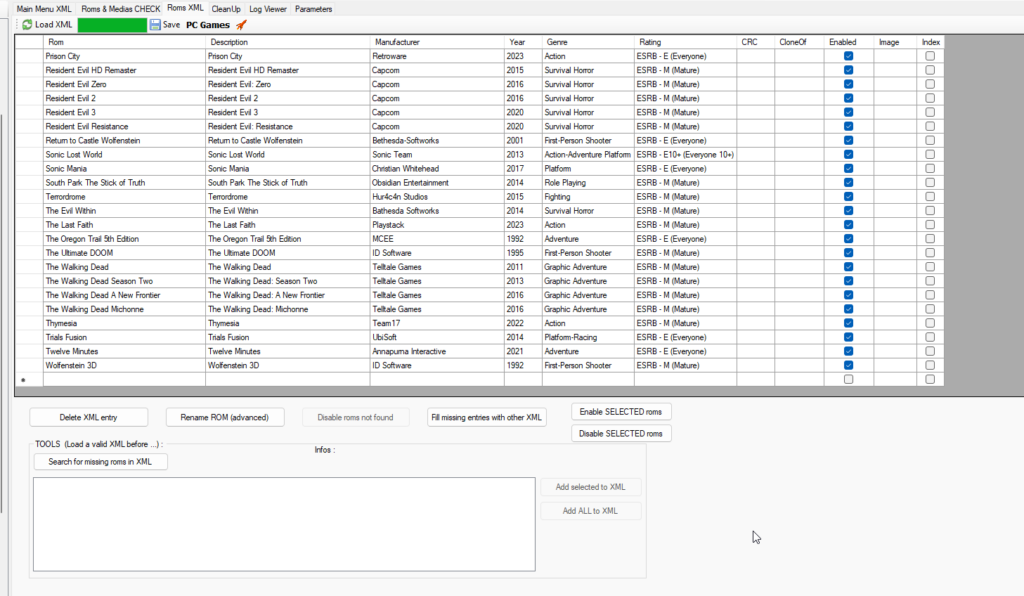
In the last, blank entry, Enter the column information about the game Rom name, Description, Manufacturer, year, Genre, Rating. Much of this information can be found about the game in the steam store by opening steam and selecting the information icon on the far right.

In this case, the information below would be applicable to Dead by Daylight
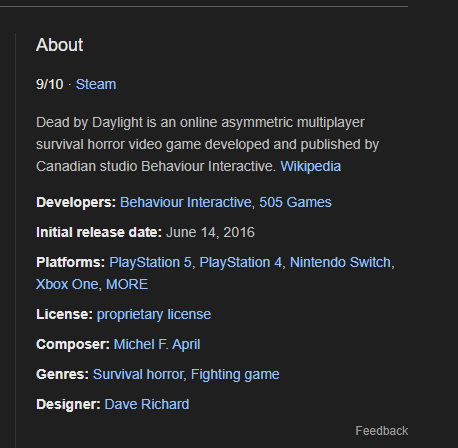
Also, since not ALL the information required is listed in the steam store library, I have done a quick google search and will use the ‘About’ information to get the rest of the information required. ESRB.org lists Dead by daylight as ESRB-M 17+ Mature.
Entry Items
- Rom Name – Deady by Daylight
- Description – Dead by Daylight (rom and description are generally the same name)
- Manufacturer – Behaviour Interactive Inc. ( I generally choose the publisher name listed in steam for this )
- Year – 2016
Genre – Survival Horror - Rating – ESRB-M 17+ Mature
Once all information gathered and is entered in Hypertools, the entry should look like this…

Note: regarding the ESRB rating, the title here MUST match the name of the artwork asset listed in “.\RocketLauncher\Media\Rating_Default\ESRB – M (Mature).png” to show up.

Drag the new entry to an alphabetical point in the list, make sure that “Enabled” is checked on the right-hand side, and don’t forget to save. Now are Hyperspin Database entry is complete, but we are far from done yet :).
By this time, the game should be finished installing, Launch the game once and go through any messages or EULA’s that would otherwise prevent the game from launching strait away. Once finished, exit the game.
Rlauncher Database Entry
Now, we will need to make an entry in rlauncher. Navigate to “\RocketLauncher\Modules\PCLauncher” and open the “SteamIDs.ini” file. Scroll to the bottom and add an entry to the list that contains the steamID, title, and the executable name. Order does not matter in the list; however, formatting is extremely important.
Locating the steamID can sometimes, be tricky, but usually the easiest way to find it is by navigating to the store in steam and looking at the path url to find the digits at the end of the URL, in this case the number that we would need for Dead by Daylight is 381210, this will be the bracketed entry in the SteamID xml file.
The executable name will be located in your install directory for steam games. Only the .EXE file name is required, not the full path.

[381210]
title= Dead by Daylight
exe= DeadByDaylight.exe
Next, navigate to the root of your PC games folder and create a folder named “Txt”. Inside this folder create a blank text document named “Dead by daylight”. Nothing needs to be written in the text file, just the file itself. This folder will be parsed by Rlauncher during audits. This is actually an optional step, but looks nice during auditing in rlauncher. The game will work just the same without the text file.

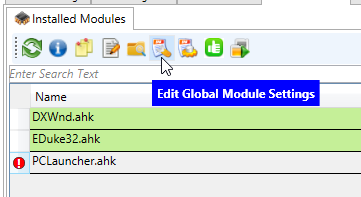
Open Rlauncher and navigate to PC games, select the Modules tab, highlight the PCLauncher module and select “Edit Global Module settings”
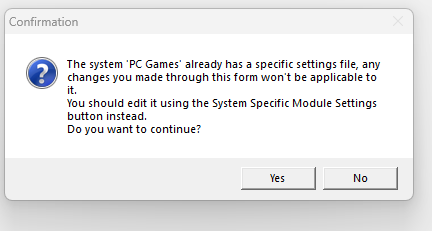
You will be prompted that PC games already has a specific settings file and asked to continue, say “yes”.
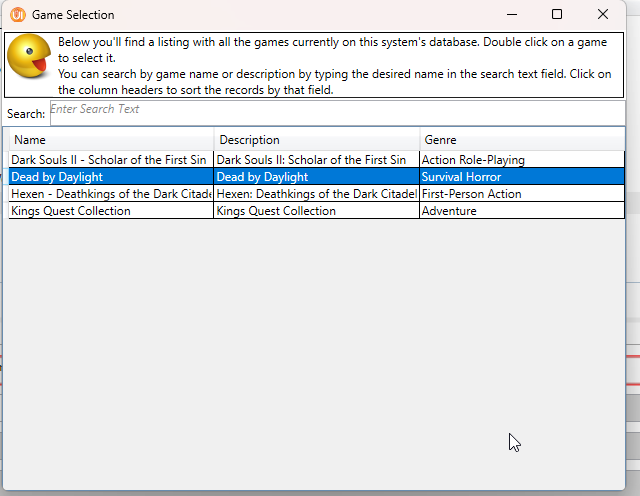
In the PC Launcher global settings editor, click the green “+” icon to add a new game, If all previous steps were done correctly, you should see an entry for “Dead by Daylight” , double-click the entry to add it.
In the Application Tab, Add the steamID and adjust the exit method to “InGame”, In modern games I usually start with this option as it disables the ESC key from exiting the game prematurely and leaves the functionality to work how the game was designed. This isn’t ALWAYS the case, but in modern games it is more true than not.

Next, test launching the game by selecting the Rlauncher icon…

For the most part, the game launches just fine. However, I noticed that in this specific example of Dead by Daylight, that it takes a long time to launch and I’m left with staring at the splash screen for a while until getting to the title screen.
Optional steps for dead by daylight
For the most part, the game launches just fine. However, I noticed that in this specific example of Dead by Daylight, that it takes a long time to launch and I’m left with staring at the splash screen for a while until getting to the title screen.
I was able to remedy this behavior and get a smoother transition by navigating to the Misc. Tab and setting the “Fade Title” The fade title can be set using the title name of the window. If the title name does not work, try using the class name. I was able to use a Third party tool to discover the class name of the game which is “ahk_class UnrealWindow”. I would still get an error message so I set the Fade Title Timeout to 40000 milliseconds. This seemed to provide a smooth experience to launch Dead by Daylight.
To do a complete test, Launch Hyperspin and navigate to PC Games in your library. You should see a blank entry with no artwork assets showing.
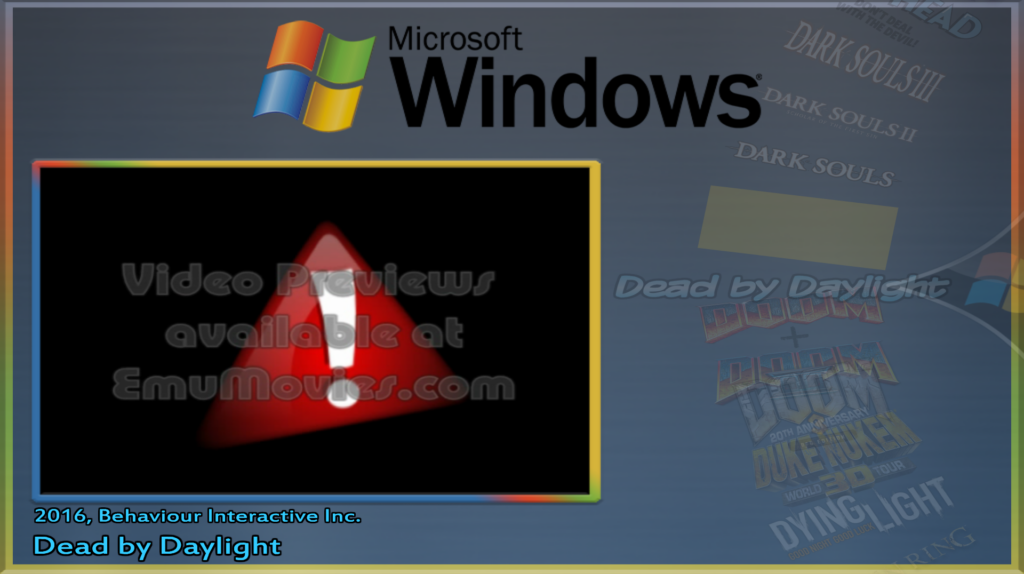
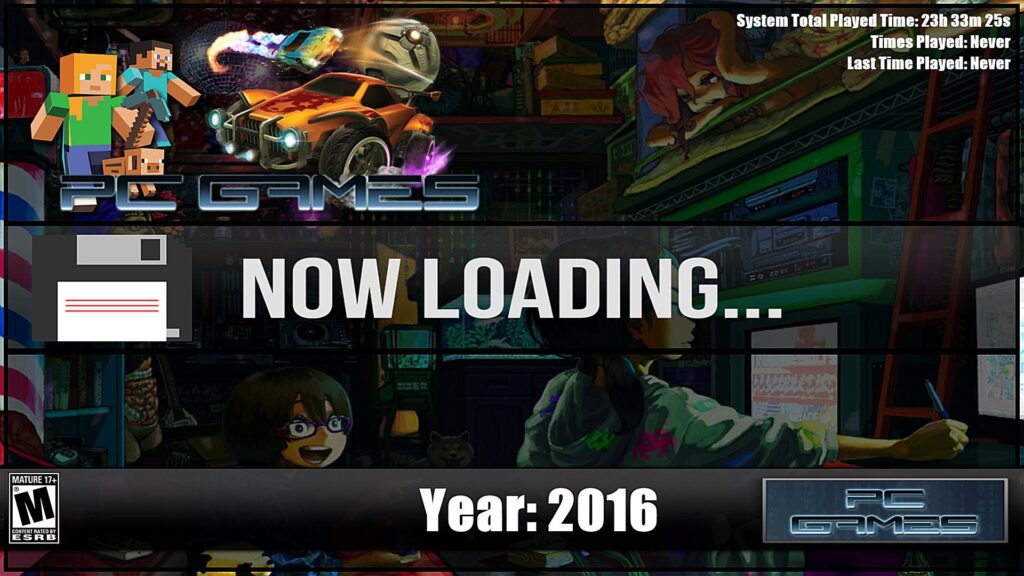
Launching the game should go straight into Dead by Daylight.
Conclusion
In this first part of the guide on how to add a Steam game to Hyperspin, we walked through the steps necessary to properly configure the platform to launch Dead by Daylight seamlessly. By setting up Steam as an emulator within Hyperspin and ensuring the correct execution parameters are in place, you’ve successfully integrated one of your favorite games into the front end for smooth access.
In the next part, we’ll dive deeper into setting up artwork, and additional settings to further personalize your Hyperspin library. Stay tuned for more ways to enhance your gaming experience!

