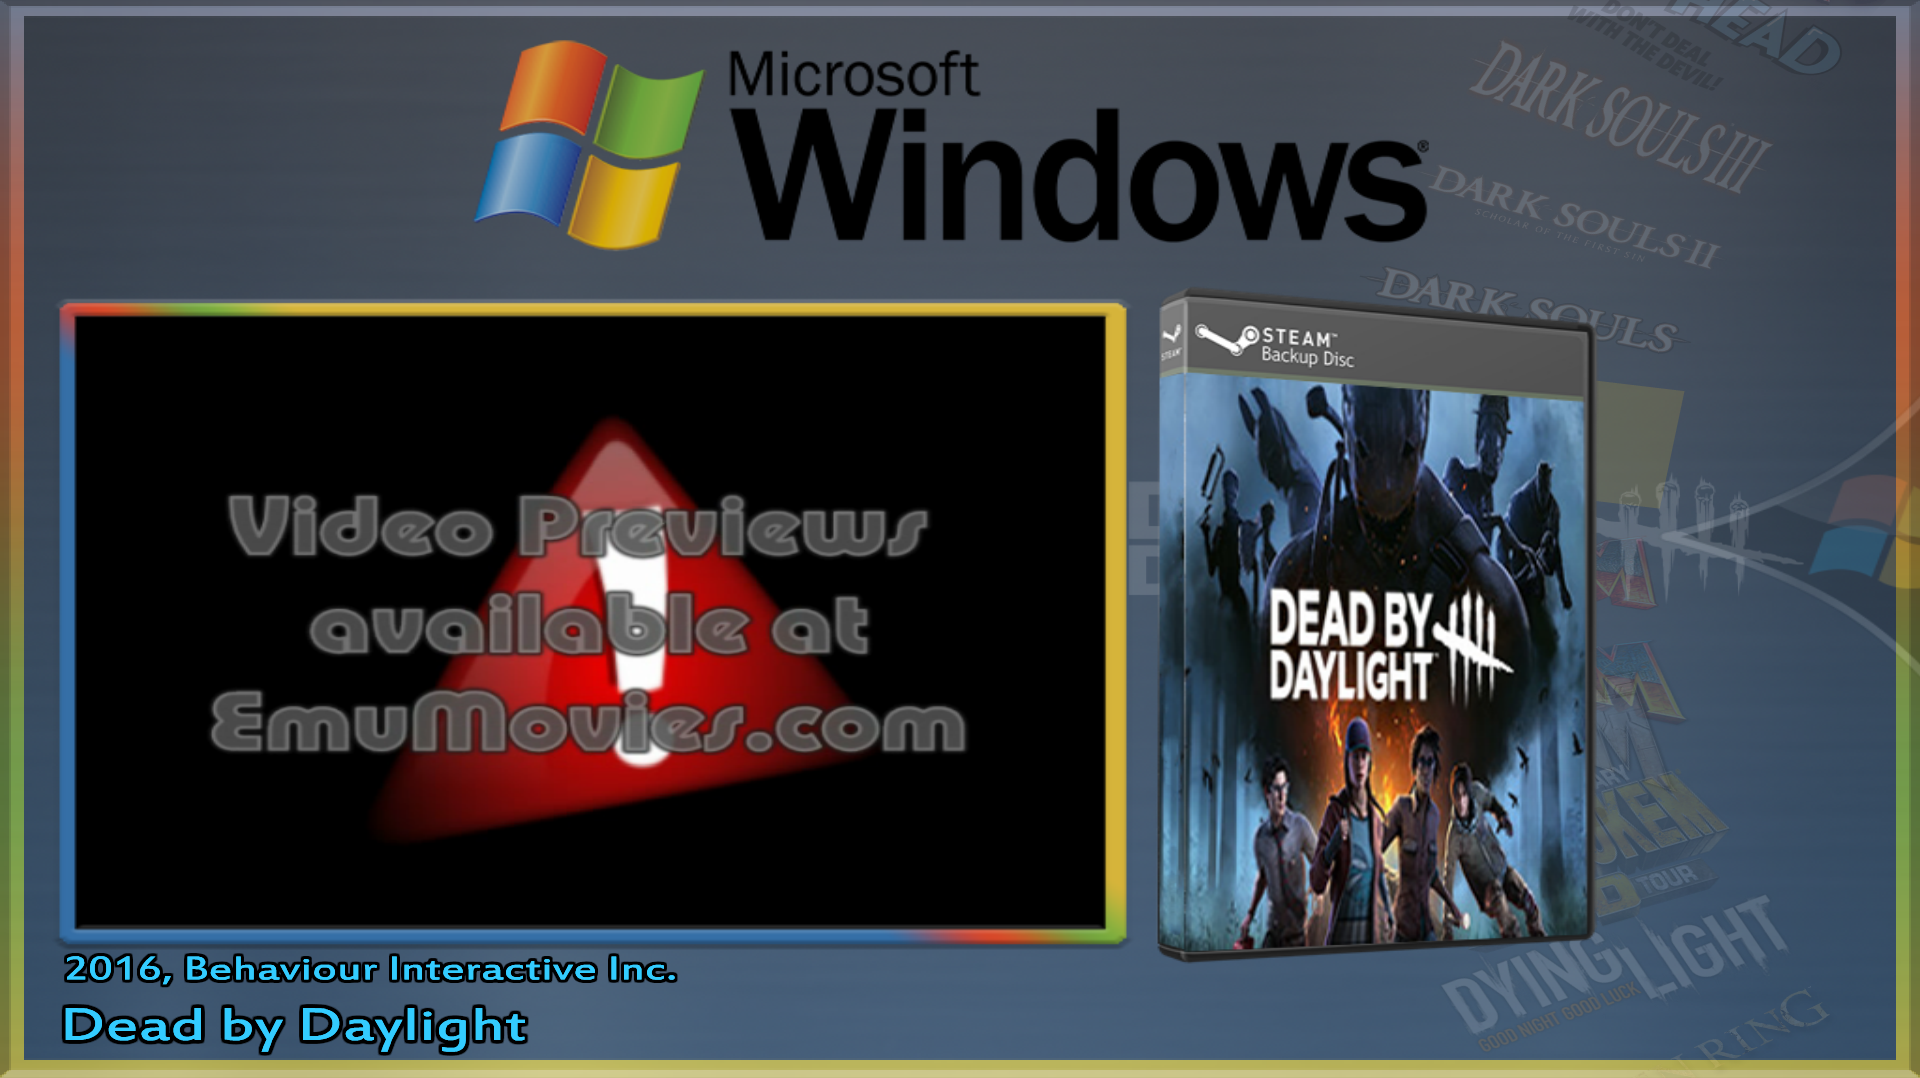
Now that we’ve covered the basics of setting up a steam game in Hyperspin, it’s time to focus on customizing your arcade experience with artwork. Artwork in HyperSpin includes wheel images, themes, and box art (sometimes), enhancing the visual appeal of your game selection. The process of installing artwork involves downloading the appropriate artwork packs, configuring directories, and linking them within the HyperSpin interface. Let’s dive into the step-by-step guide to ensure everything displays correctly and complements your system’s aesthetic. This will be a HIGHLY subjective article based on personal preference, but this is the way I find things to be most visually appealing for PC games.
Wheel Art
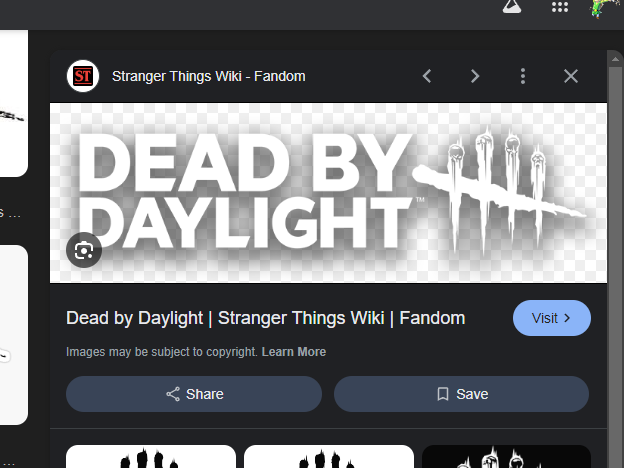
Wheel art is generally the easiest to implement. I usually start off with a quick google image search and see what I find. The screenshot below is most ideal because of it’s horizontal layout and also it contains some shading in the background to help the white logo display better on certain PC Games themes…however, upon trying to save this image, the file saves as a .webp file and would be incompatible with hyperspin. .Webp has many technical benefits in terms of file compression for better display on the internet with very little digital footprint however, this file would require an extra conversion step to .png. Since it is an extra step, I will skip this file and see if I am able to find something that does not require a conversion.
I am going to choose this slightly less elaborate logo that is plain white, notice the checkered background, this background indicates that it is a transparent background that will not be visible when being displayed in hyperspin.
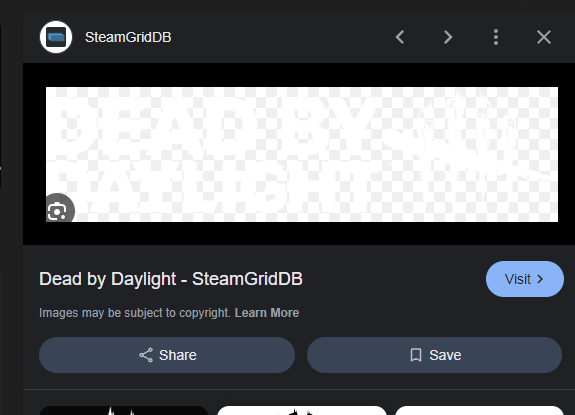
Save this artwork to your PC Games Wheel art folder.. Mine is located in “..\Hyperspin\Media\PC Games\Images\Wheel” Be sure that your file name is EXACTLY like the database entry…. in this case, the proper name is “Dead by Daylight.png”
Test the artwork
For now, I am not going to make any alterations at all to the wheel art as generally the wheel art will display correctly irrespective of its size.
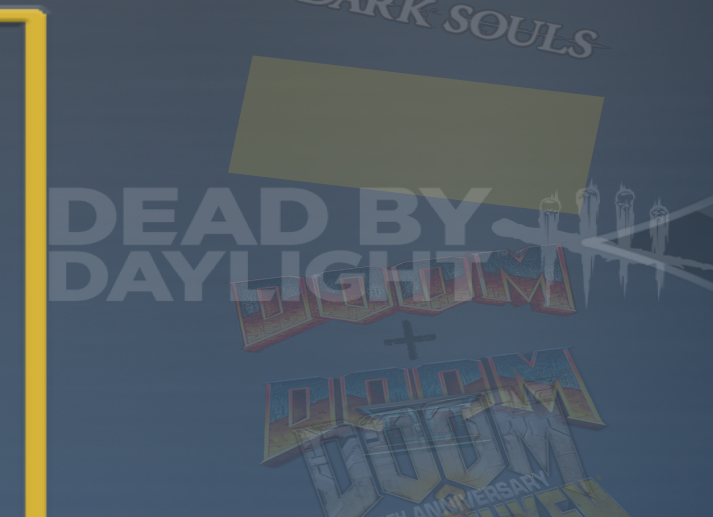
Looks good!
Note: My wheel settings are set to fade out the logo while its selected.
Boxart
Here is where the waters get pretty muddy. The first thing I do is head on over to emumovies.com and look for boxed steam games to see if there are any premade boxes. I lucked out and happened to find a download pack that contained a Dead by Daylight box. It’s not ideal, but it will do for simplicity sake. Otherwise I tend to create my own boxes here. The box pack can be found at the link below.
3D Boxes Pack for PC Games / Microsoft Windows
After downloading the boxart pack, I only extract the Dead by Daylight box to my PC games artwork folder; this folder may be different depending on how the PC games theme that you are using is designed to work. In my case the Boxart is intended to be stored in Artwork 3 “..\Hyperspin\Media\PC Games\Images\Artwork3” Again, make sure the name is consistant as “Dead by Daylight.png”
Sizing
Typically, the box artwork comes in all shapes and sizes and is rarely ever consistent as other artwork creators will make them to their own preferences. But this is my build so i will size it to my liking…for this, We will need an image resizer.
Fotosizer is a great tool for this and can be found here ; this is a free tool that is regularly supported with updates and can be used to resize images to a consistent size and even compress them!
While installing Fotosizer, make sure to install the context menu for easy highlighting and opening in the Right-click menu.
Highlight the new artwork box and also an existing artwork box, Right click, and open with Fotosizer. You should be met with a screen like the one below…
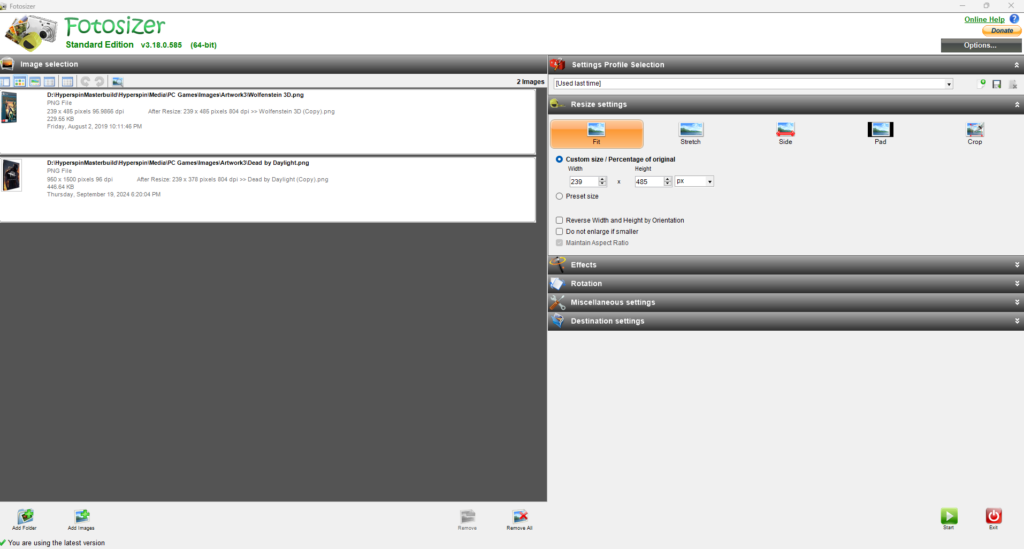
On the left, we would want to observe the sizing of the existing box in pixels in comparison to the Dead by Daylight box.
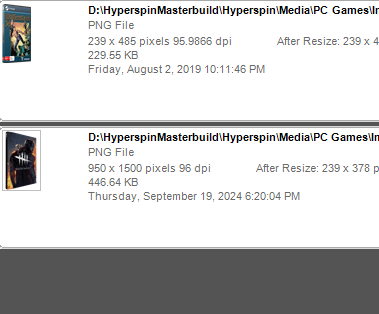
Notice that the existing box is 239×485 px while the new box is much larger 950×1500 px. On the right settings, we will try to match the size.

Under “Resize Settings” match the custom size to 239×485 px
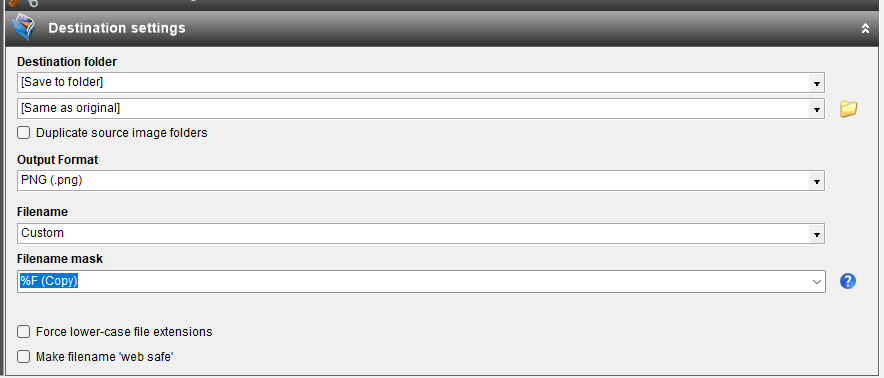
Lastly, we want to make sure that the Output format is PNG and also the file is being saved in the same folder that it came from.
Next, Remove the existing artwork box, we do not want to resize the existing one, only the new box.
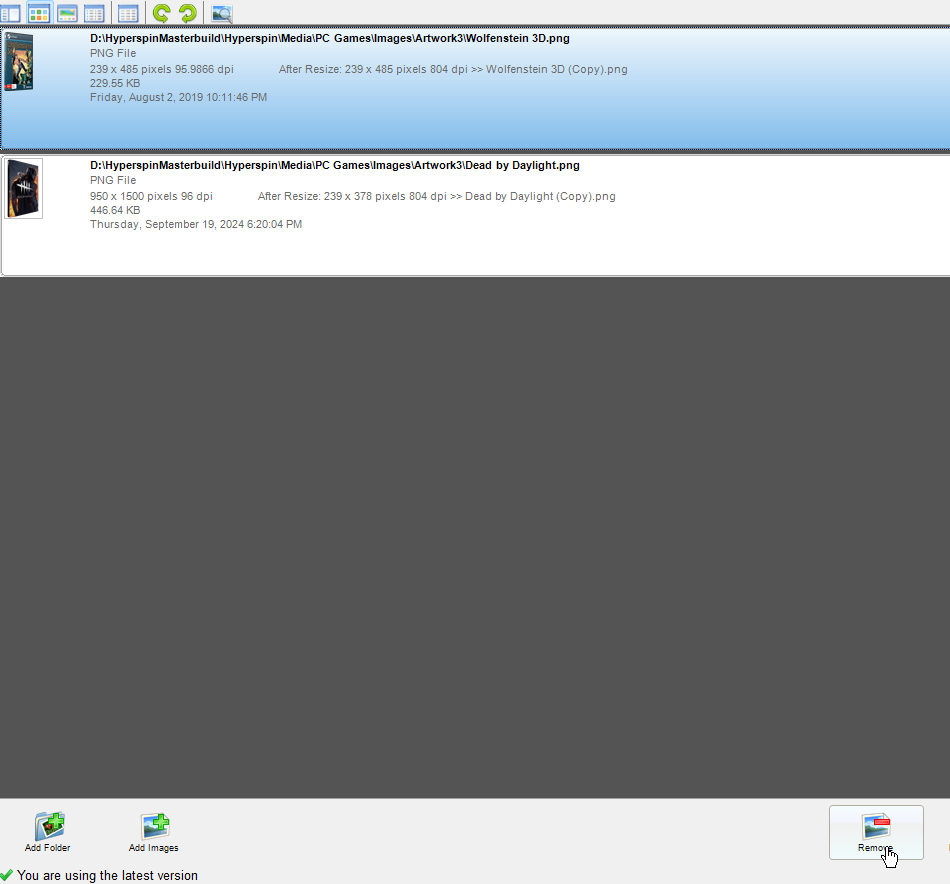
Highlight the existing image and select ‘Remove’ at the bottom. Then select ‘Start’ After the conversion is finished you will see that the image has processed successfully. Close out Fotosizer.
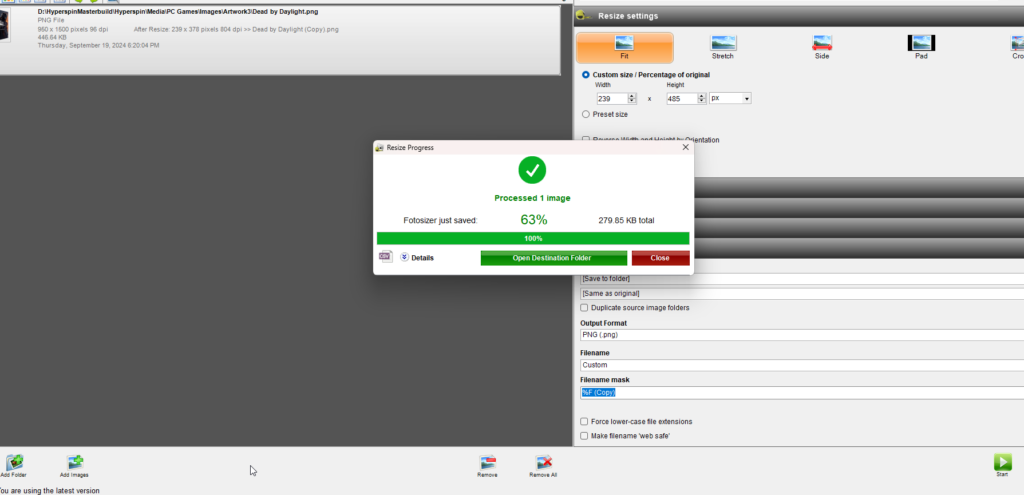
You will now see two copies of the boxart, First you want to visually inspect the copy to verify that it looks good.
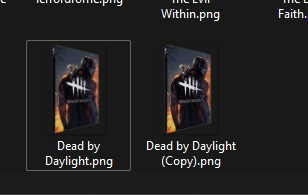
This particular box looks to be of low quality, but I’m going to give it a try anyway. Delete the original box and rename the resized box to “Dead by Daylight.png”…because…consistency. The previous steps would still apply for resizing.
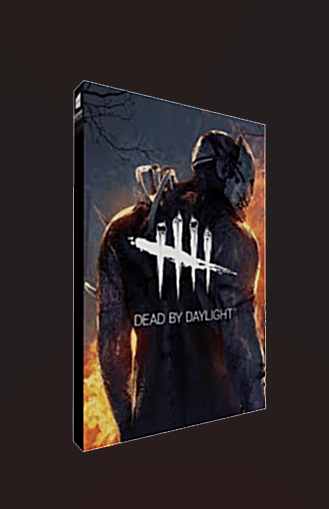
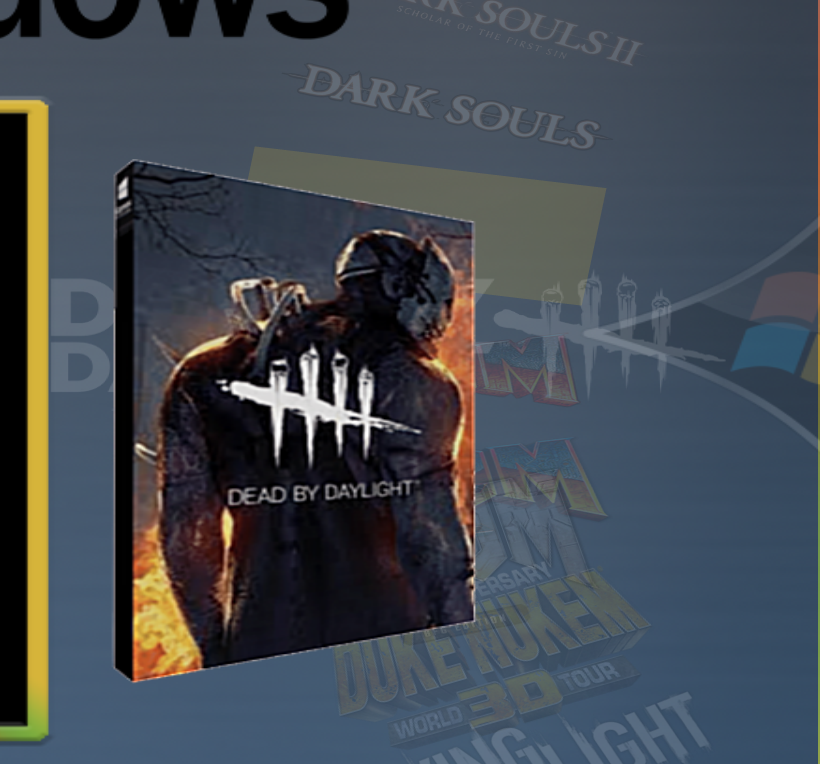
The end result looks awful and sometimes that’s just how it goes, so I will be making my own. I will cover creating your own artwork in a separate post, but for now I’ll press forward and make it to show the end result.
I whipped the artwork up below quickly from an existing box in photoshop and while it’s not a perfectly time consumed box, it is visually satisfying enough to me to be usable.
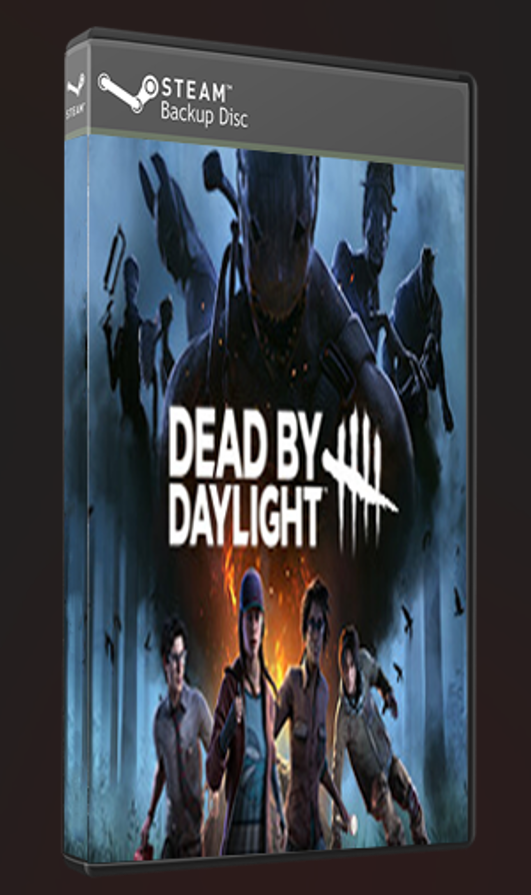
Test Launching Hyperspin and visually inspect the boxart.
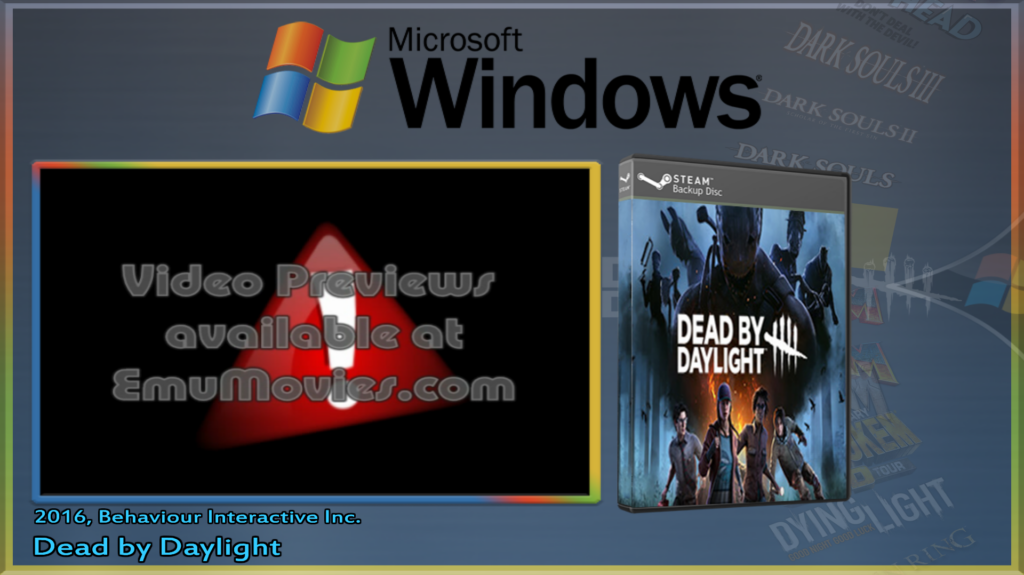
Looks fine to me ! Things I pay attention too is…
Does the artwork look smooth or grainy?
Is the box size a good size in relation to the video screen?
I almost always make sure that the box art top is parallel with the top of the video screen and the box art bottom is also parallel. This seems to just work the best. for PC games I have chosen not to have CD art just because they are so difficult to find on the internet and also most games are download based so they would not have a physical disc and would be historically inaccurate.

